Installation of Teams Manager
Installation of Teams Manager
This section describes the steps for Installation of Teams Manager. After installation, required permissions are to be provided in order to access the application.
Pre-Requisite:
1. User should have Global Admin role and the Teams Admin role to install and access the application.
2. If user does not have Global Admin role, user can still install the Teams Manager application, but will not be able to access the application. User has to contact the Global Administrator to provide the required rights to access the application.
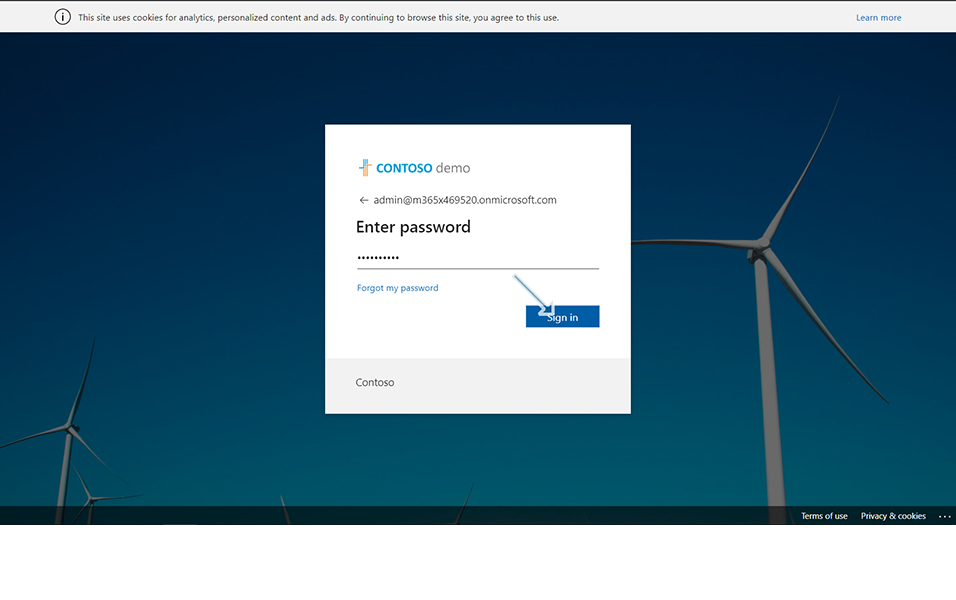
Login to Office 365 Tenant: for (eg) URL "https://M365x469520.sharepoint.com". Provide valid Login Credentials.
Click on "Teams" from left corner display.
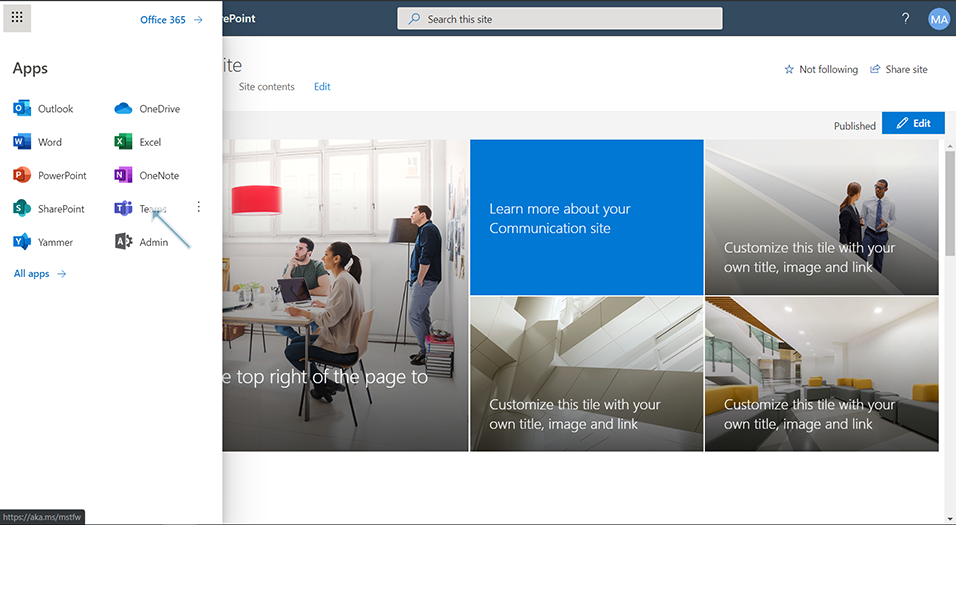
Click on three dots "..." and click on link "Browse all apps".


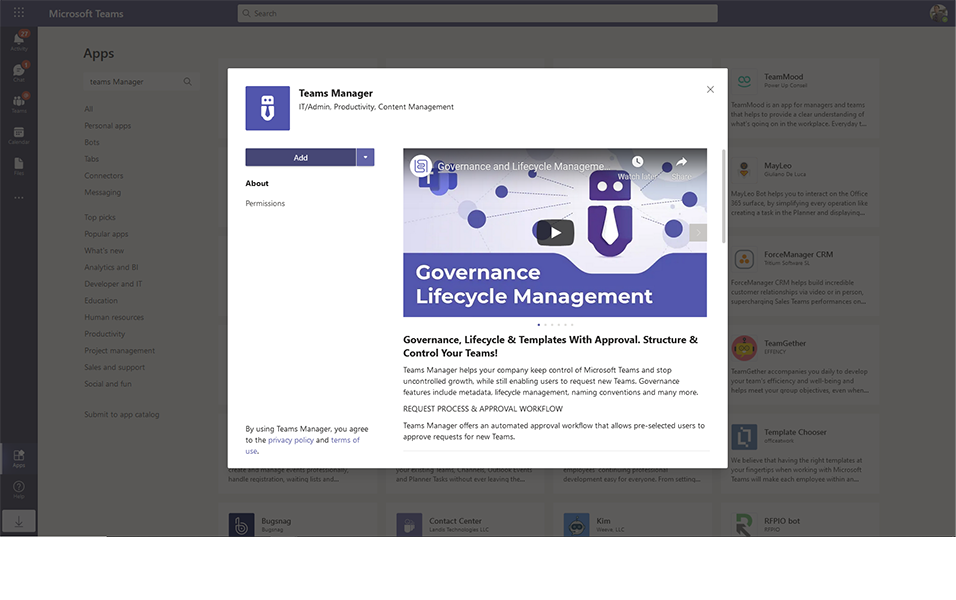
Search for Apps 'Teams Manager' from store.

Select 'TeamsManager' app and click on Add button.
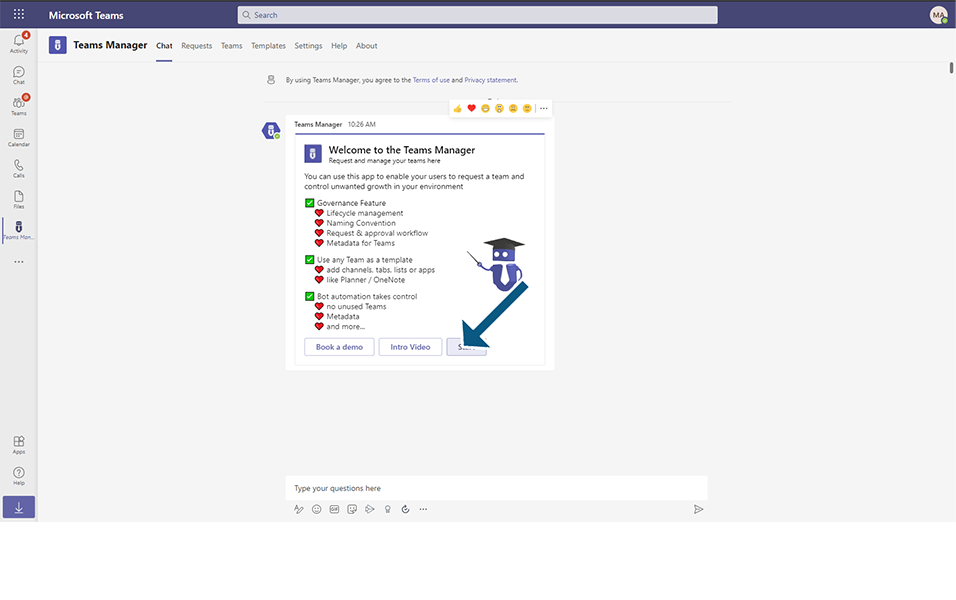
Teams Manager is added.
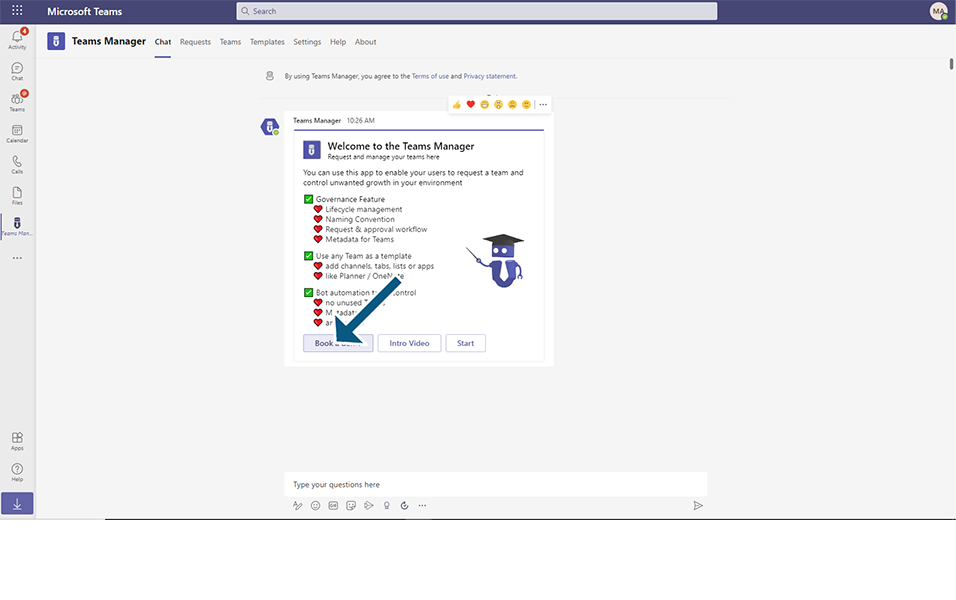
Click on Start button in the chat window.
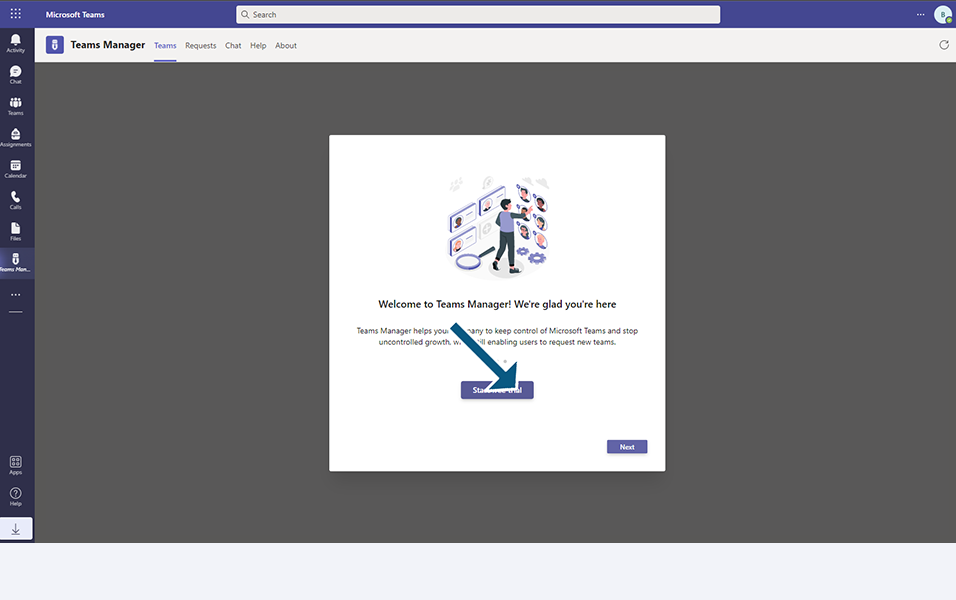
Click on Start free trial.
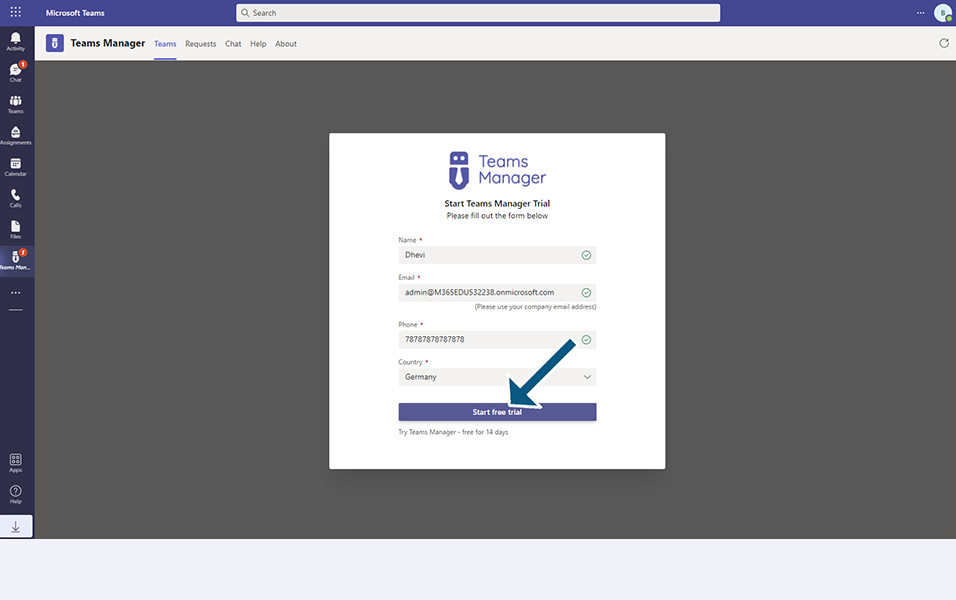
Enter the details in the following fields and click on Start Free trial button.
Name: Enter the name of the user.
Email: Enter the email address of the user.
Phone: Enter the phone number.
Country: Select the country from the drop down available.
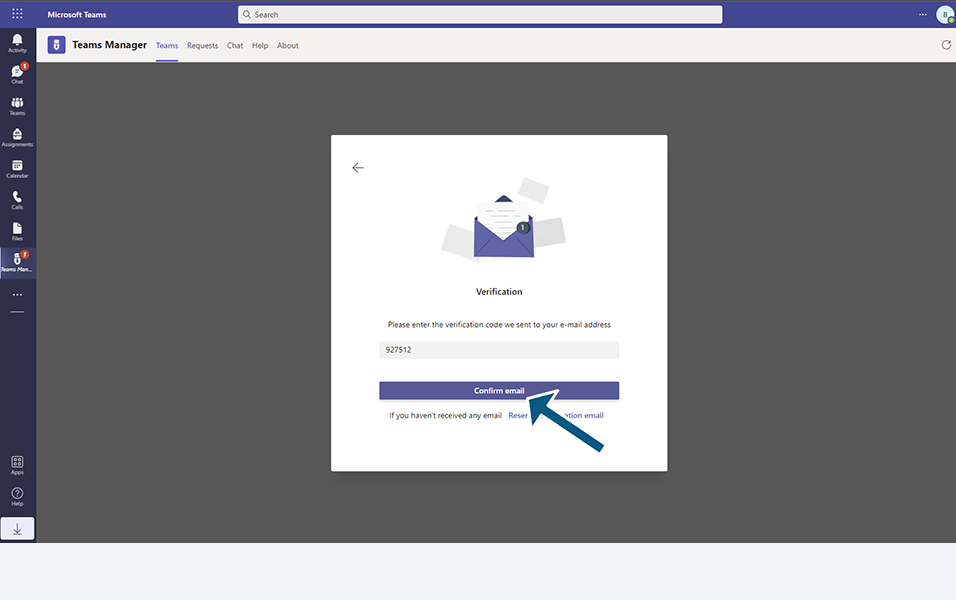
Click on Confirm email.

Enter the verification code that comes in the email that is entered. Click on Confirm email from the next page.
Click on Open Teams Manager button after successful verification of the code.
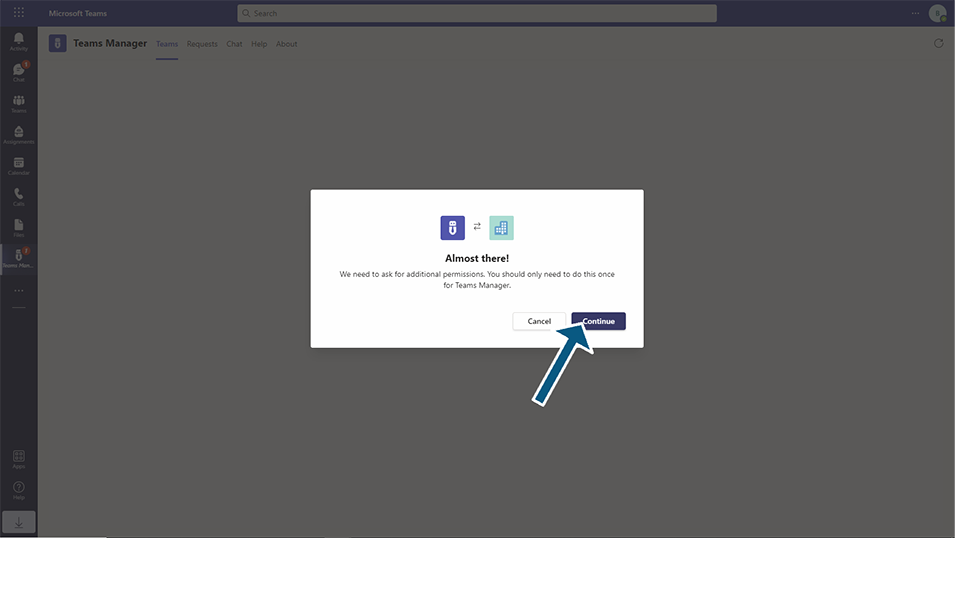
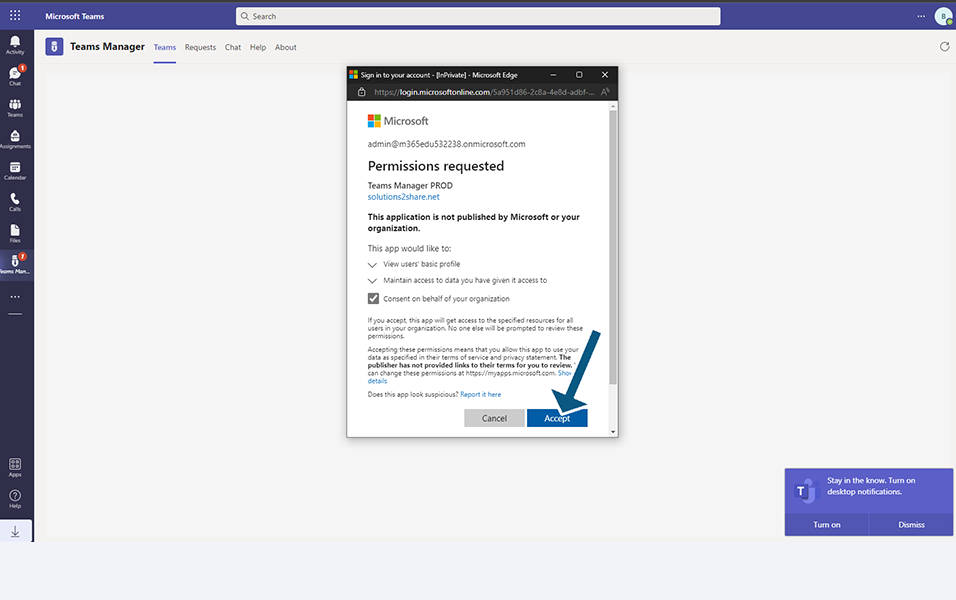
Click on Continue button to provide permissions.
Select the checkbox to consent and click on button Accept.
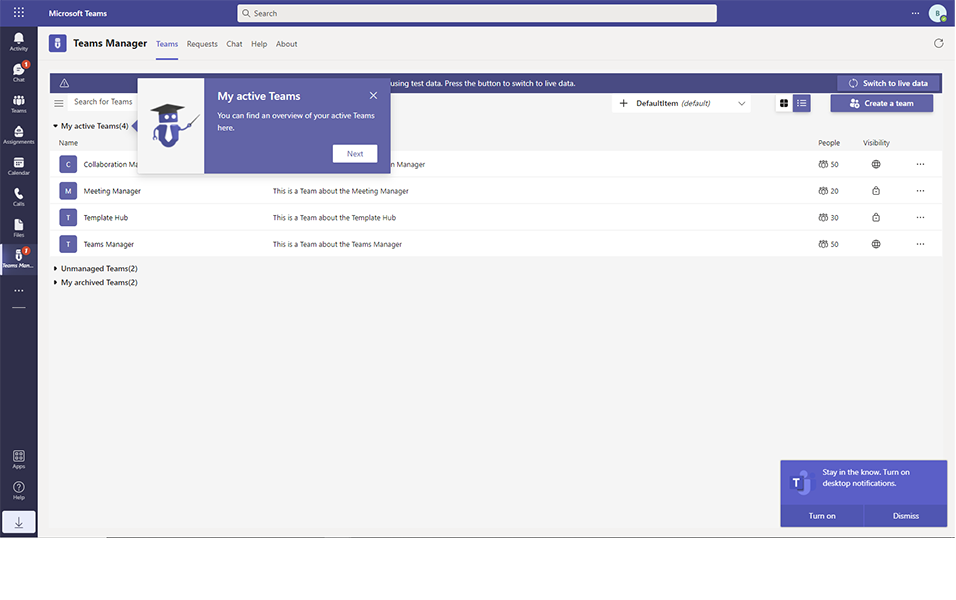
Teams Manager will be open in Mock up environment.
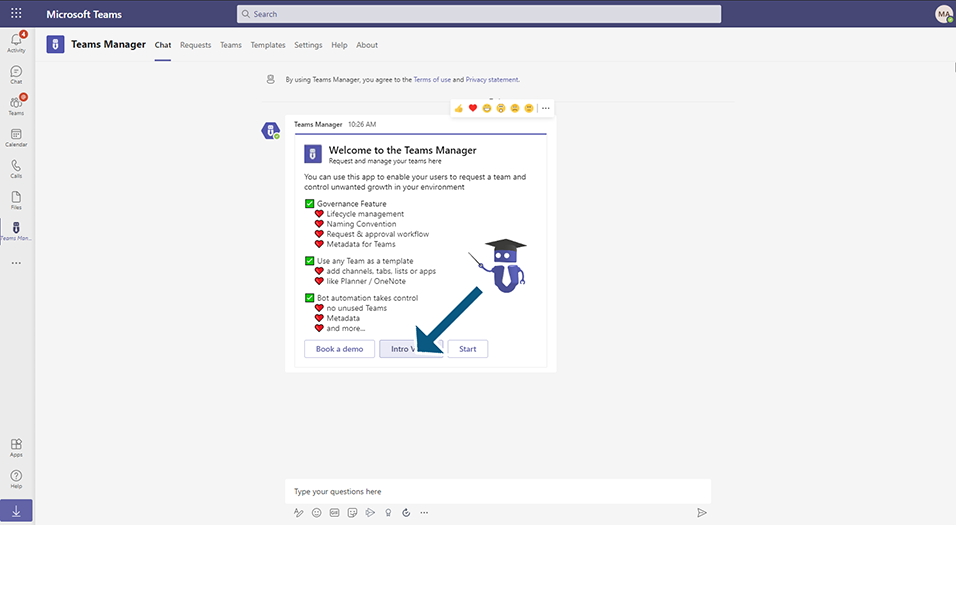
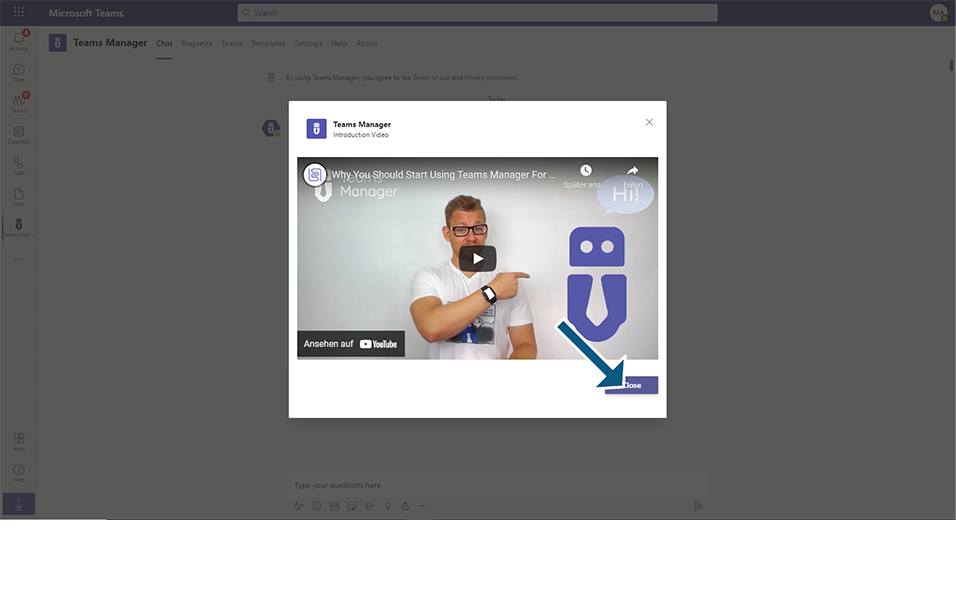
Go to chat window, Click on Intro video button and the short introduction video on Teams Manager is displayed to User.
Go to Chat window, Click on Book a demo to book the demo with the Solutions2share Teams Specialist who can take user through the functionalities available in Teams Manager.
This completes the Installation of Teams Manager.