Update Template
Update Template
This section describes the steps for updating Templates in Collaboration Manager 365. This functionality is described by adding a new Document library to existing template available in Templates list. Users can also customize the templates by adding List, App etc.
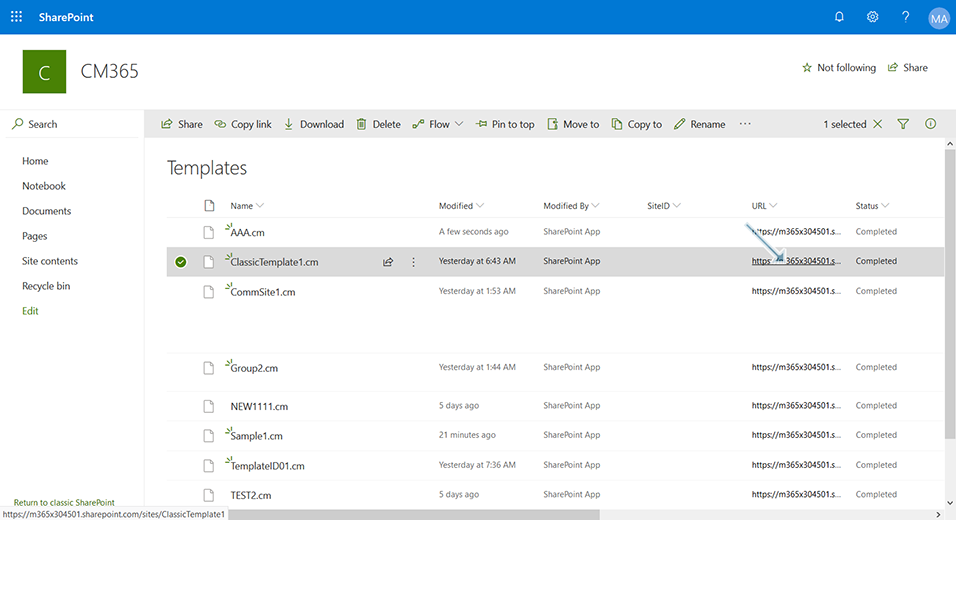
1. Go to Templates page of Collaboration Manager 365 and select the template "ClassicTemplate1.cm" from the template list as created in section "Create Template"
2. Click on the link "URL" from URL column.
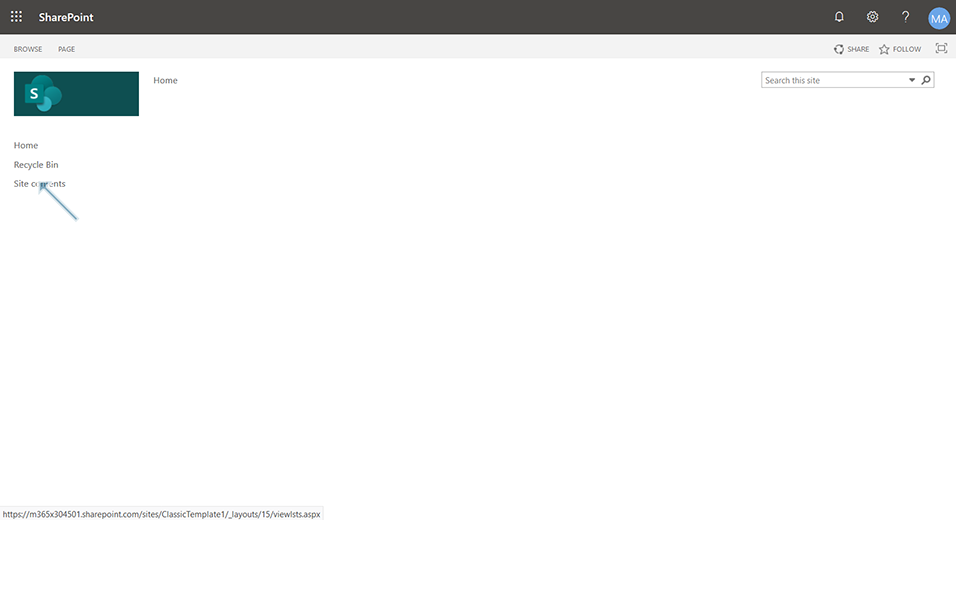
3. SharePoint window is displayed and Click on link "Site Contents" from left navigation.
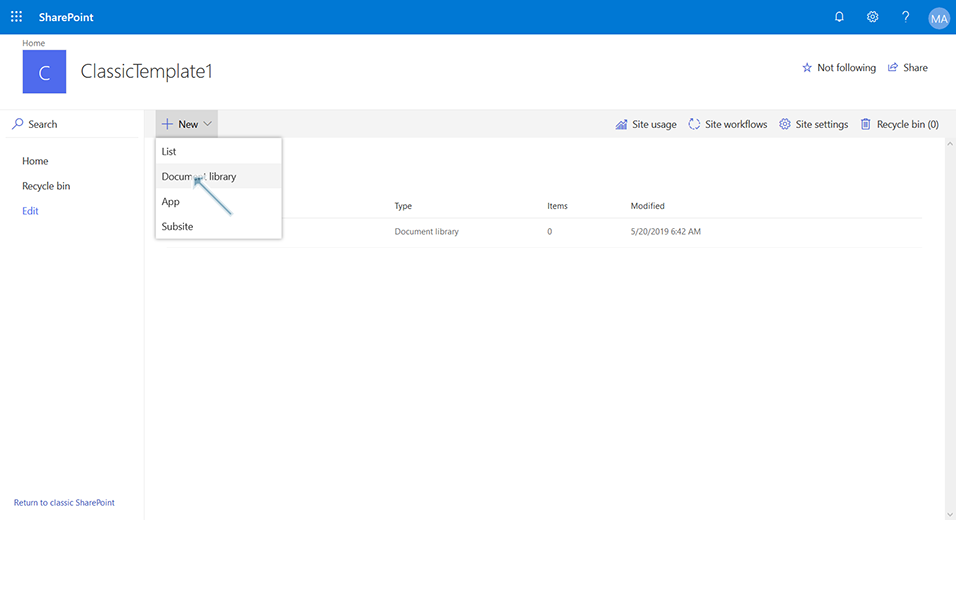
4. Click on link "New" and add "Document Library" in right panel.
Note: User can add a new App, new List and new Subsite using New->List, New->App, New->Subsite
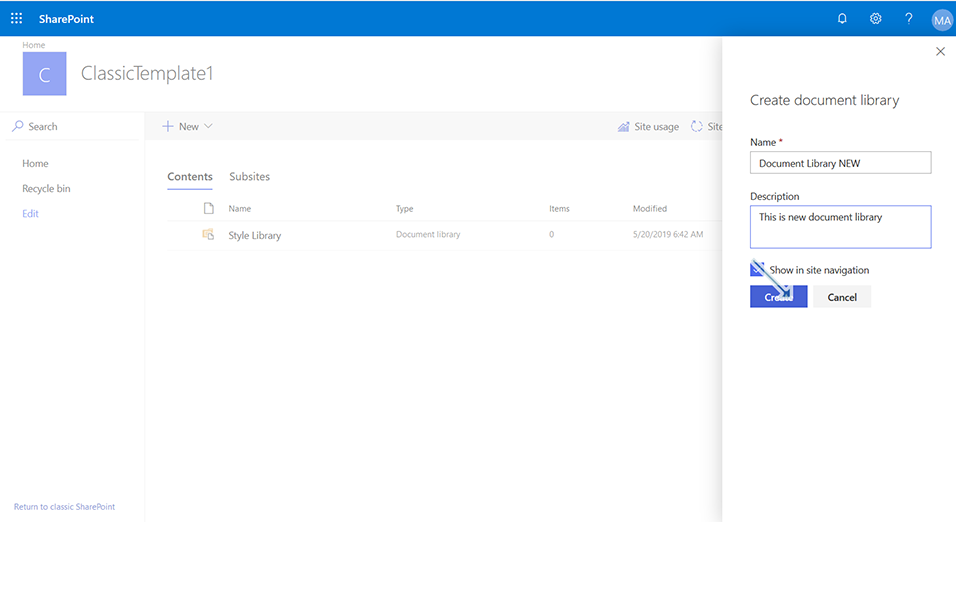
5. Enter the name of document library as "Document Library NEW", enter the description as "This is new document library", select "Show in site navigation" checkbox and click on button "Create".
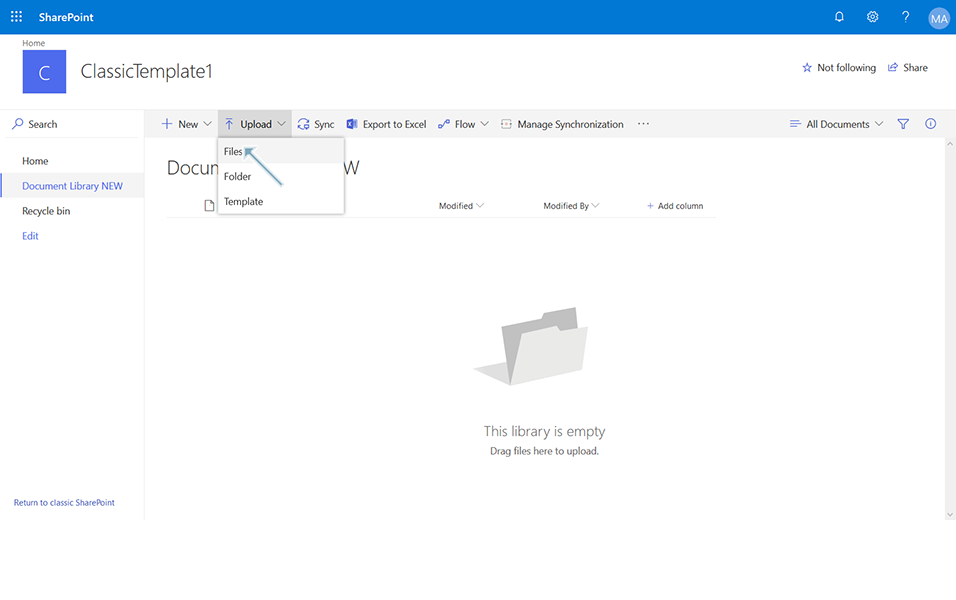
6. Newly created document library "Document Library NEW" is displayed in site navigation. Select the "Document Library New" and Click on link "Upload" and click on option "Files".
7. Select the file "Sampledoc.docx" from local computer and click on open.
Note: Sampledoc.docx should be available in local computer.
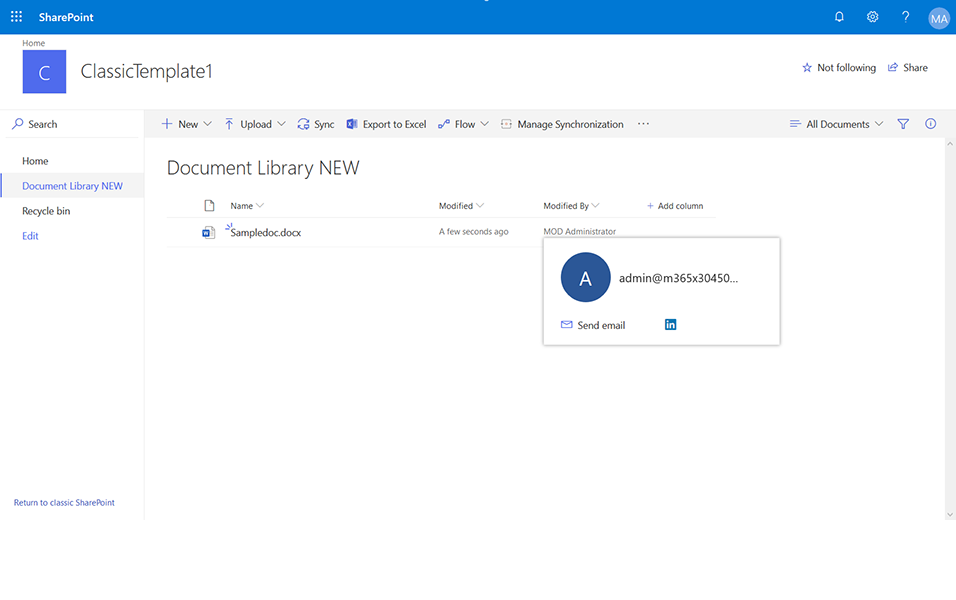
8. Document "Sampledoc.docx" is added to the newly created document library "Document Library New".
9. Go to Templates page of Collaboration Manager 365 and select the template "ClassicTemplate1.cm" from the template list and click on the link "Save Template".

10. Confirmation message "Save is successfully started. We are redirecting you to SharePoint." is displayed to the user.
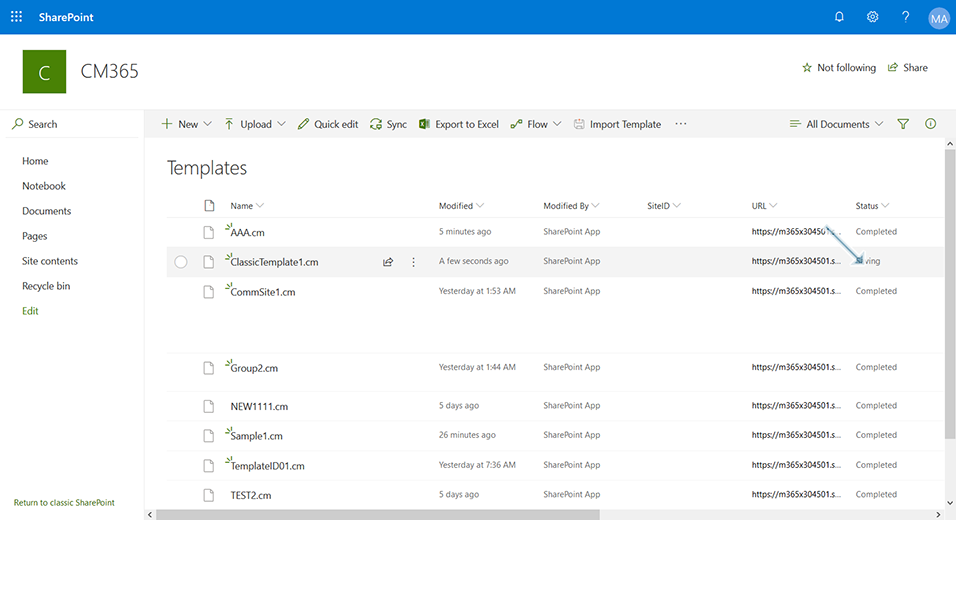
11. Once the save operation is started, it automatically redirects to the Templates page. Status of the template is displayed as "Saving".
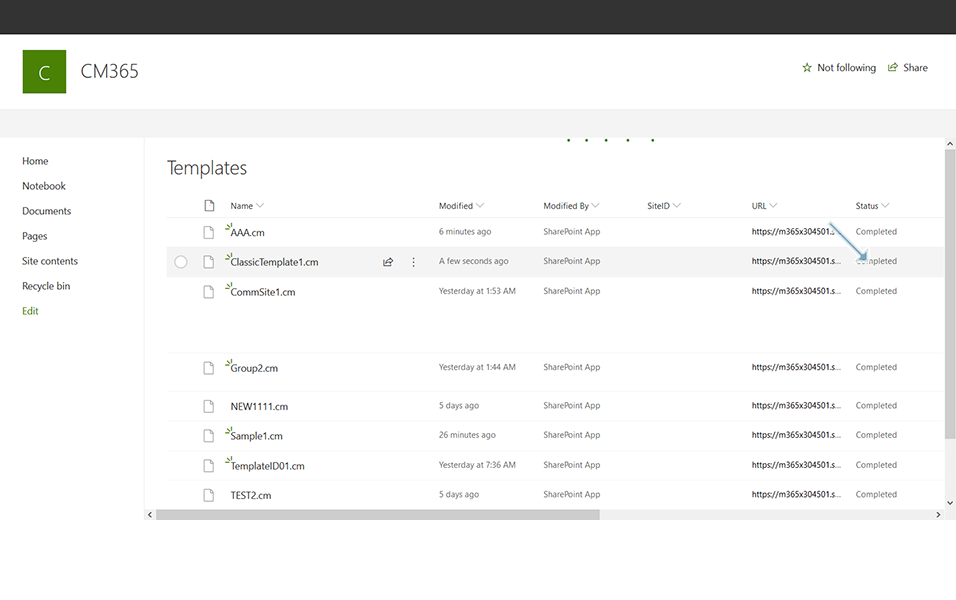
12. Refresh the page using key "F5". After few minutes, save is successful and the status is updated as "Completed".
Note: This process can take up to 15 minutes.
This completes the process of Saving Template.